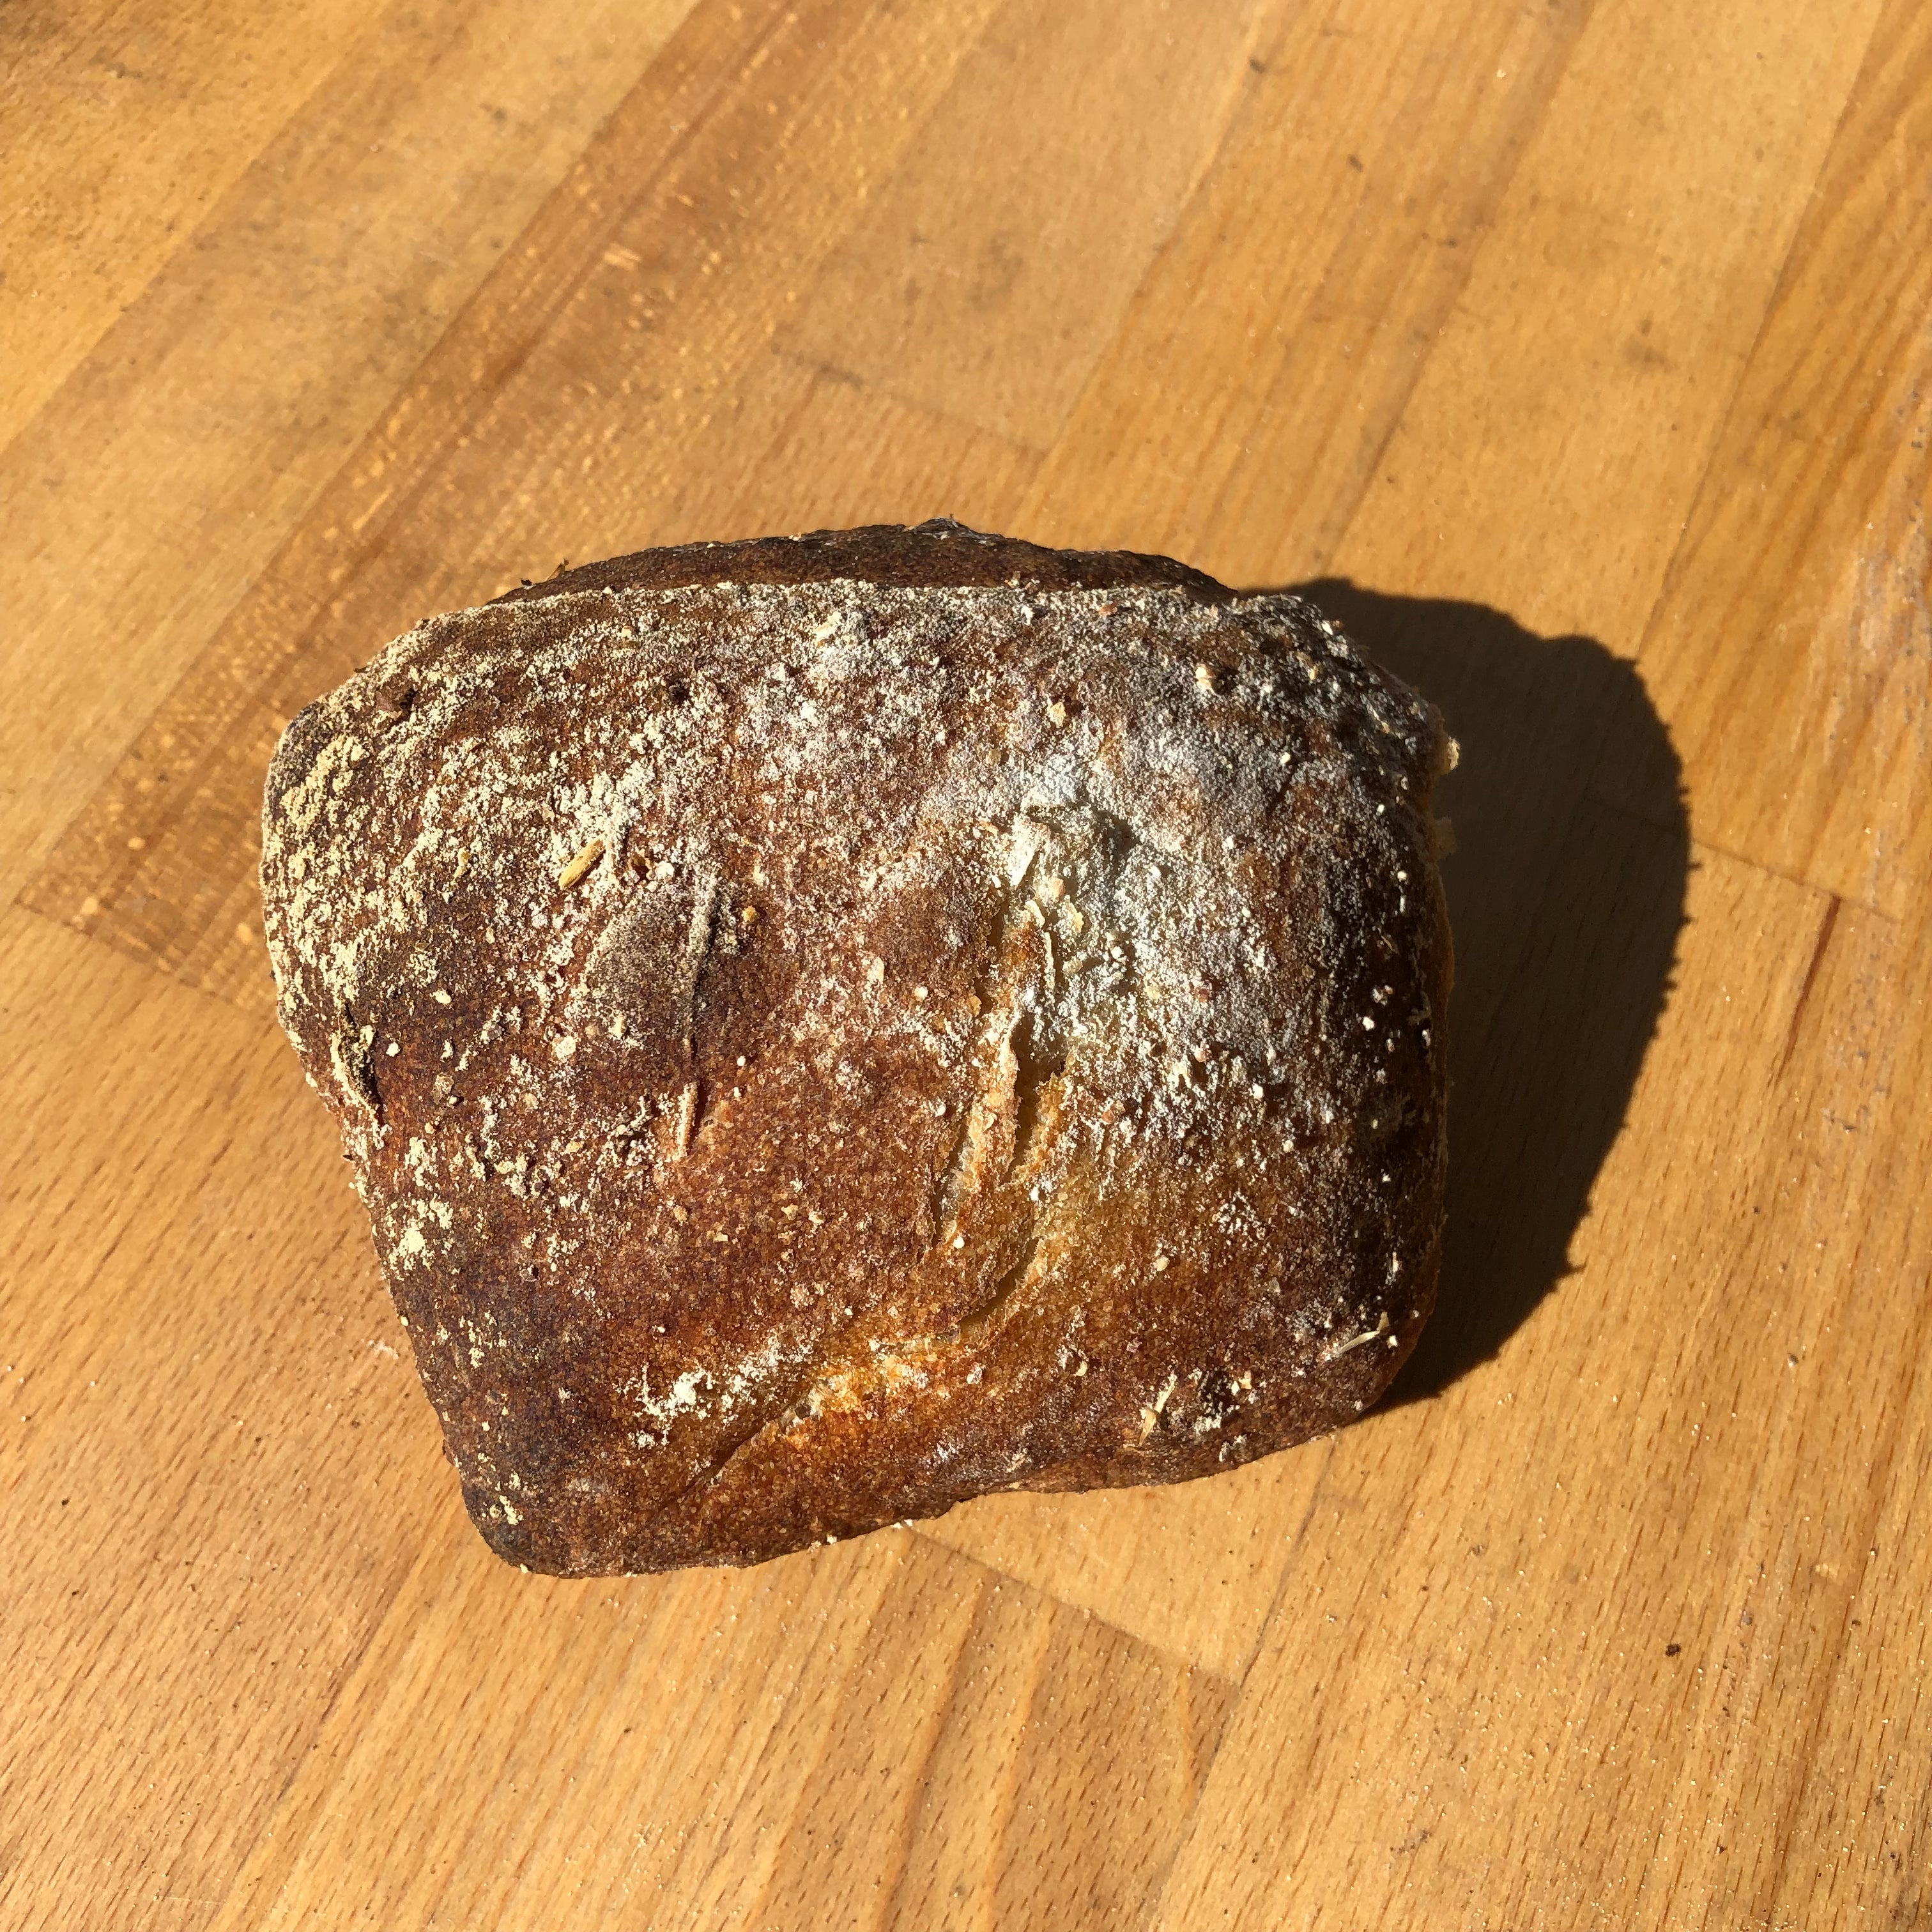
Sourdough rolls are one of those bakes that makes you realise what bread is supposed to taste like. A thin, crackling crust that shatters when you break it open. A soft, slightly chewy interior. And a gentle, lingering sourness that you don't get from anything made with commercial yeast.
Once you've made these, you'll struggle to go back to shop-bought rolls.
What Makes Sourdough Rolls Different?
The difference is fermentation time. Where a standard roll might be mixed, proved and baked in three hours, sourdough rolls develop over 12–18 hours. During that time, the natural yeasts and bacteria in your starter do something remarkable: they transform a simple mixture of flour, water and salt into something complex, flavourful and deeply satisfying.
The long, cold proof also makes the dough easier to work with, gives the rolls a better crust, and makes them keep longer — a day-old sourdough roll is still excellent. A day-old supermarket roll is not.
Ingredients (12 rolls)
- 200g active sourdough starter — new to sourdough? Our Starter Kit has everything you need to get going
- 500g strong bread flour
- 300g water (room temperature)
- 10g salt
- 20g honey or sugar (optional — helps with browning and a touch of sweetness)
- 30g butter, softened
Method
Evening — Mix & Bulk Ferment
Combine the starter, water and flour in a large bowl. Mix until no dry flour remains, then cover and let rest for 30 minutes — this is the autolyse, and it makes a real difference to the final texture. Learn more about autolyse and why it works.
After resting, add the salt, honey and softened butter. Work everything in until fully incorporated. The dough should feel smooth, slightly tacky and elastic. If kneading by hand, work it for about 10 minutes. In a stand mixer with the dough hook, 6 minutes on medium speed is enough.
Cover and leave at room temperature for 2 hours. During this time, perform 3–4 sets of stretch-and-folds at 30-minute intervals. After the bulk ferment, the dough should feel noticeably more airy and elastic.
Overnight — Cold Proof
Shape the dough into a rough ball, place in a lightly oiled bowl, cover tightly and refrigerate overnight — anywhere from 8 to 16 hours works well. The cold slows fermentation right down, allowing flavour to develop without over-proofing.
Morning — Shape & Bake
Remove the dough from the fridge. It should feel cold and firm, slightly puffy, and smell pleasantly sour and yeasty. Tip it gently onto a lightly floured surface and divide into 12 equal pieces — a kitchen scale makes this easy and ensures even baking. A dough scraper is the perfect tool here for dividing and moving the dough without tearing it.
Shape each piece into a smooth, tight ball. The tension you create on the surface is what gives the rolls their lift in the oven. Place on baking trays lined with parchment, leaving space between each roll. Cover loosely and leave to proof at room temperature for 2–3 hours, until noticeably puffed and airy.
Preheat the oven to 220°C fan. Just before baking, score the tops with a sharp bread lame — a simple cross or single slash works well and helps the rolls expand evenly in the oven. Bake for 18–20 minutes until deep golden brown. The rolls should sound hollow when tapped on the base.
On a Stand Mixer
Everything works exactly the same on a stand mixer. Use the dough hook, mix on low to combine, then medium for 6 minutes. Add the butter in small pieces while the machine is running. The dough is ready when it pulls cleanly away from the sides of the bowl and passes the windowpane test — stretch a small piece thin enough to see light through without it tearing.
Make a Bigger Batch
These rolls freeze brilliantly. Bake a double batch, let them cool completely, then freeze in a zip-lock bag. To serve, place frozen rolls in a 180°C oven for 12–15 minutes. They come out tasting like they were baked that morning.
Serve warm, with good butter. That really is all they need.
— Peter, Simpel Surdej


Share on socials:
The Perfect Sourdough Pizza Dough – Crispy, Airy & Full of Flavour
The Perfect Sourdough Pizza Dough – Crispy, Airy & Full of Flavour