
Recipe

Simple Sourdough Starter

Total time7 days
1 starter

Ingredients

  • 1 cup flour, all-purpose or whole wheat
  • 1 cup water, room temperature
  • 1 tsp fruit or honey, optional

For feeding from day 5

  • ½ cup flour
  • ½ cup water

Method

Tap a step when it is done.

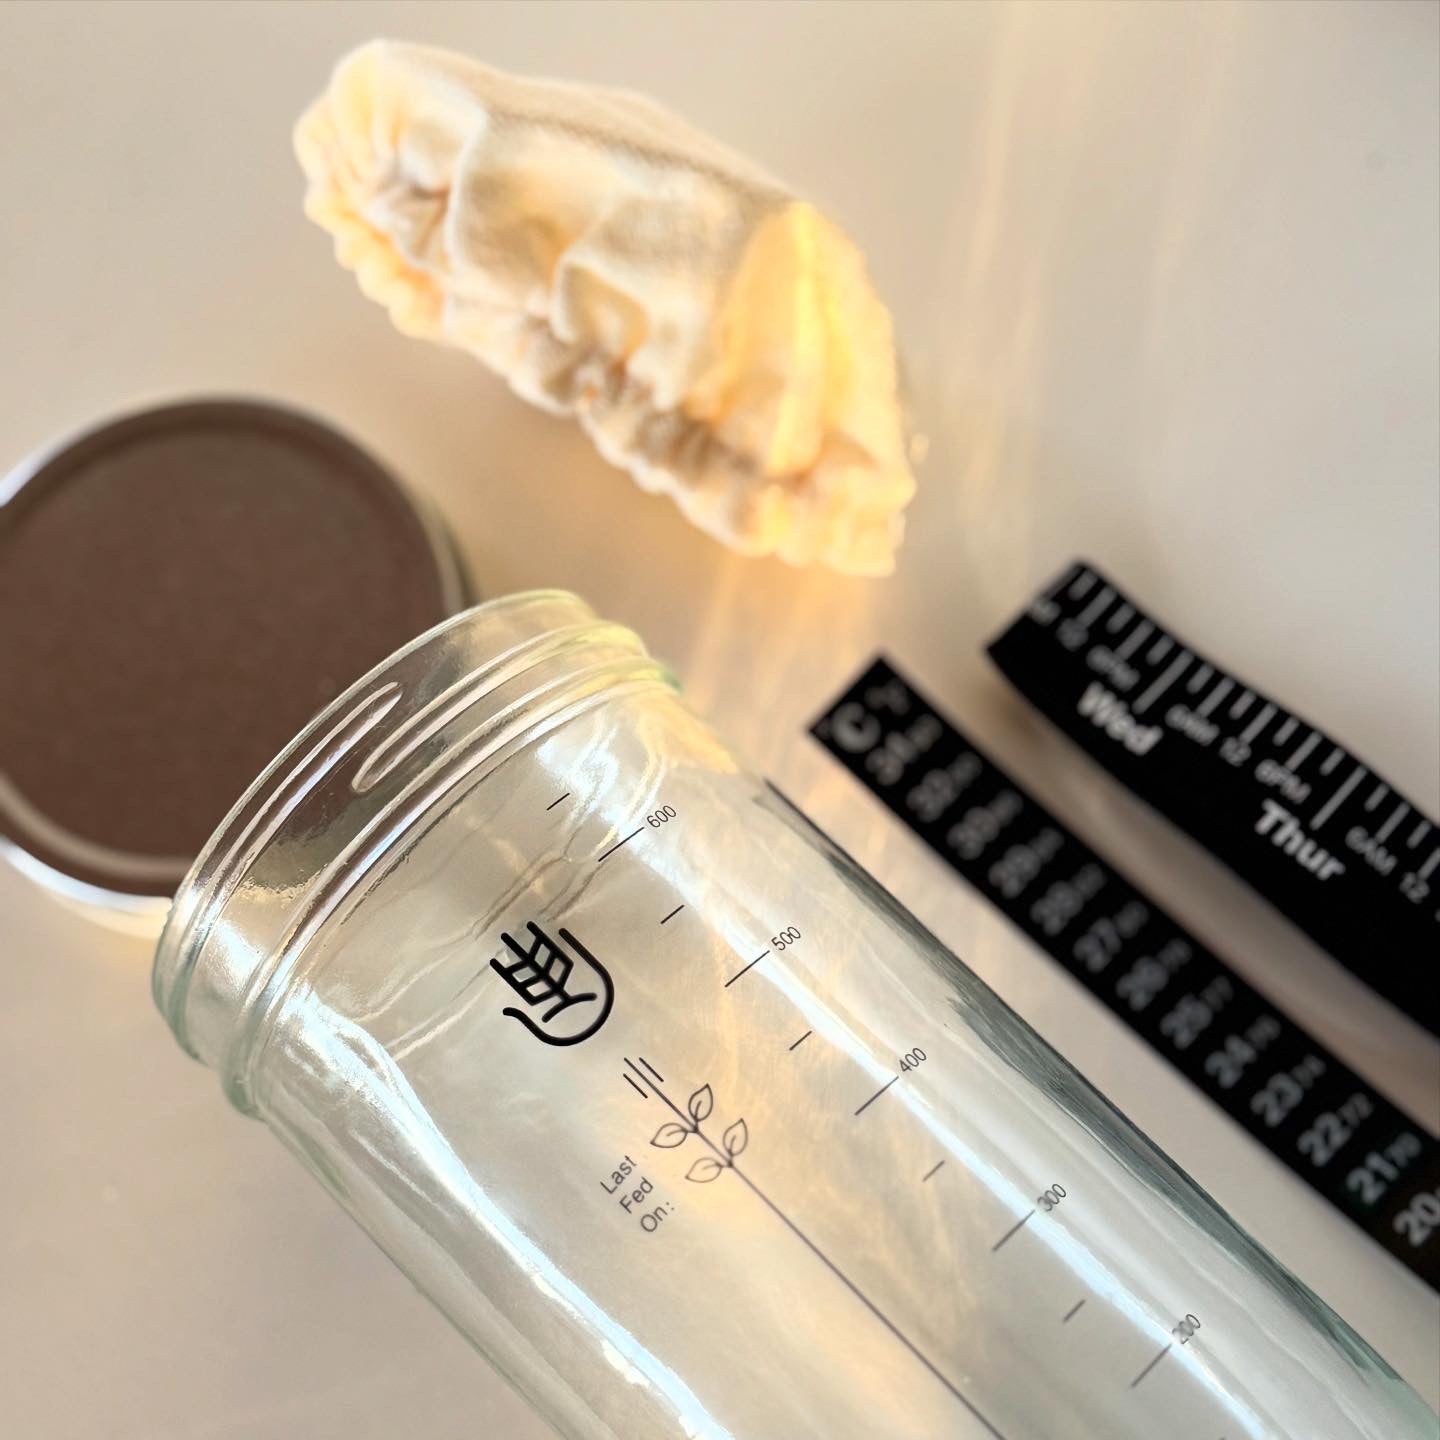
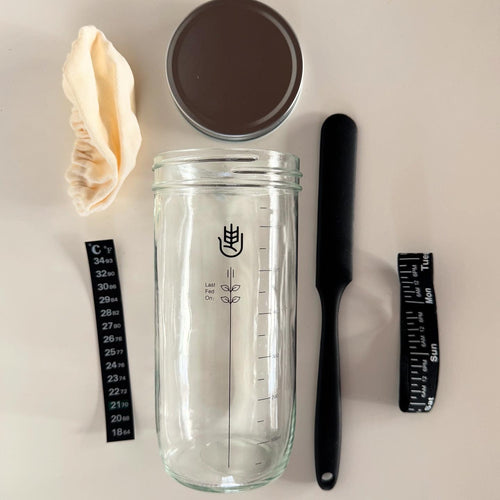
  1. Day 1: Mix the flour and water in a clean jar until no dry flour remains. Cover it loosely with a lid or cloth, so air can get in.

  2. Day 2: You may not see any change yet. Stir and leave it for another day.

  3. Day 3 to 4: Bubbles start to form on the surface. If you want to give it a boost, stir in a teaspoon of fruit or honey.

  4. Day 5 to 7: Feed the starter daily. Discard half, add the feeding flour and water, and mix well.

  5. When the starter is active and bubbly, it is ready. Wait 6 to 8 hours after a feeding before you bake with it, and keep it in the fridge between bakes with a weekly feeding.

Keep it somewhere warm, around 21°C. Use a clean spoon every time you stir.

Questions and answers

Should I use rye or wheat flour?

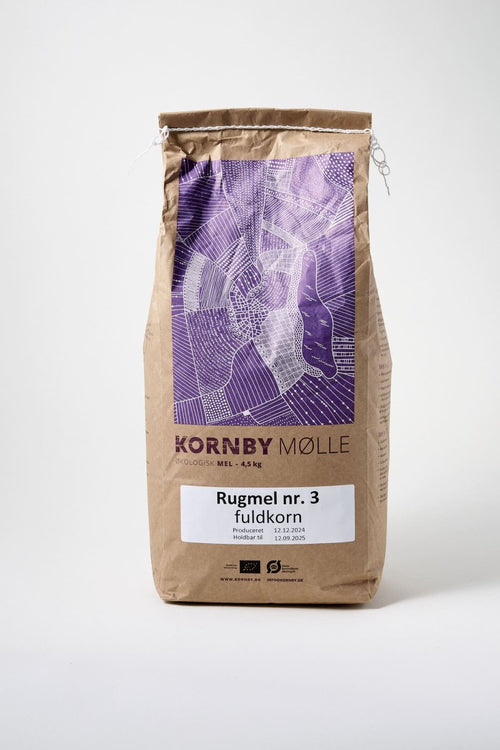
Start with rye. Rye ferments faster and gives the starter a good start. From day 5-7 you can switch to wheat flour if you want a milder flavour.

How much should I discard?

Keep 50-60 g of starter and discard the rest before feeding it 50 g flour and 50 g water. Use the discard for crispbread or pancakes.

Which water should I use?

Water at room temperature. Tap water is fine if it tastes good. Heavily chlorinated water can slow down fermentation.

What if I forget to feed it?

Do not worry. A starter is very forgiving. If you skip a day or two, feed it a few times at room temperature and it will recover.

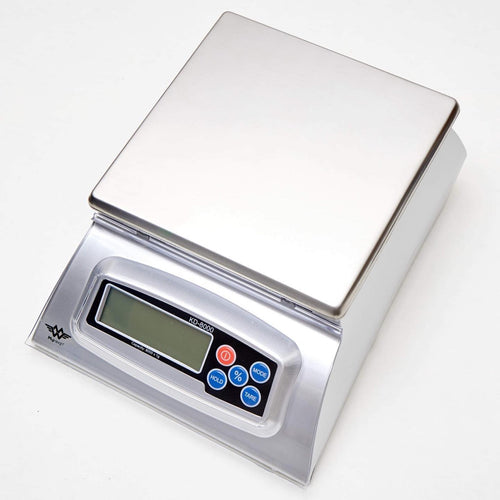
There are plenty of recipes out there that turn sourdough into a semi-religious science. It is not. It is biology. If you want a starter that can lift a heavy rye loaf or give big holes in your wheat bread, follow one rule: weigh everything.

In short

  • You needFlour, water and a clean jar
  • Time5-7 days
  • FeedingEqual parts flour and water
  • Ready whenIt doubles in 6-8 hours

Three things you must never do

  • Never use cold water. It is like giving the yeast a sleeping pill. Use water at room temperature or slightly warmer.
  • Never skip the scale. A starter that is too thin cannot hold the bubbles it makes. You think it is dead, but it is just too wet.
  • Never use dirty tools. A starter is a culture of good bacteria. A dirty spoon invites the bad ones in.

How to tell it is ready

After 5-7 days the starter should double in 6-8 hours after a feeding. It should have bubbles on the surface and along the sides of the jar and smell fresh and sour, a bit like yoghurt. Put a rubber band around the jar when you feed it, so you can easily see how much it rises.

The float test. Drop a small spoonful of starter into a glass of water. If it floats, it is active and ready to bake with. If it sinks, give it another day.

How to look after your starter

If you bake every day or every other day, it can stay on the counter. Feed it every 24 hours: keep 50-60 g and add 50 g flour and 50 g water. If your kitchen is above 24°C, feed it twice a day.

If you bake a couple of times a week, keep it in the fridge. Feed it, leave it out for 2-4 hours until it bubbles, and put it in the fridge. Feed it once a week. The day before you bake, take it out, feed it and wait until it has doubled.

If something goes wrong

  • There is liquid on top: It is hungry. Pour off the liquid and feed as normal.
  • It smells sharply of vinegar or nail polish: Also hunger. Feed it a few times at room temperature.
  • It does not rise: It is probably too cold or too wet. Find a warmer spot and weigh flour and water precisely.
  • Only start over if you see mould, a pink or orange colour, or it smells rotten.

For more problems, see our big troubleshooting guide.

The shortcut

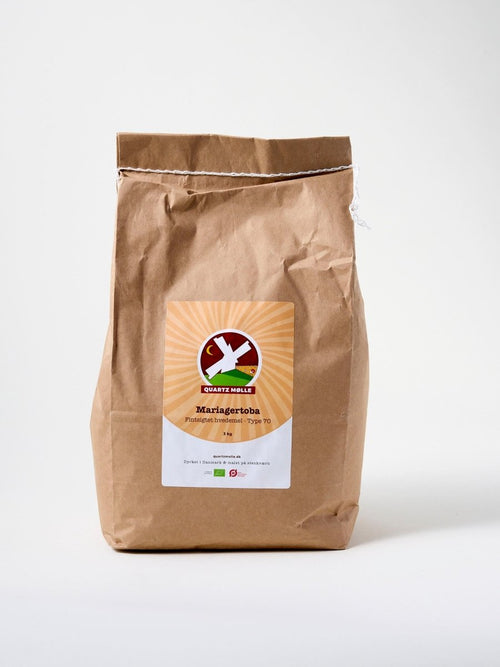
If you do not have a week to wait, we have done the work for you. Our own live sourdough starter is ready to bake with after one feeding. And remember that the flour makes a big difference. Quartz Mølle Mariagertoba has a high protein content that gives your starter something to work with.

Read on

Peter, Simpel Surdej

2 comments

    • Dorthe
    • November 26, 2024 at 3:40 pm

    Hvorfor bliver al tekst ikke oversat? Det ville gøre det nemmere at vælge jer frem for andre danske forhandlere.😏

    • Marina
    • May 11, 2023 at 9:40 am

    Спасибо за информацию.

Leave a comment

This site is protected by hCaptcha and the hCaptcha Privacy Policy and Terms of Service apply.

Seneste nyheder

View all

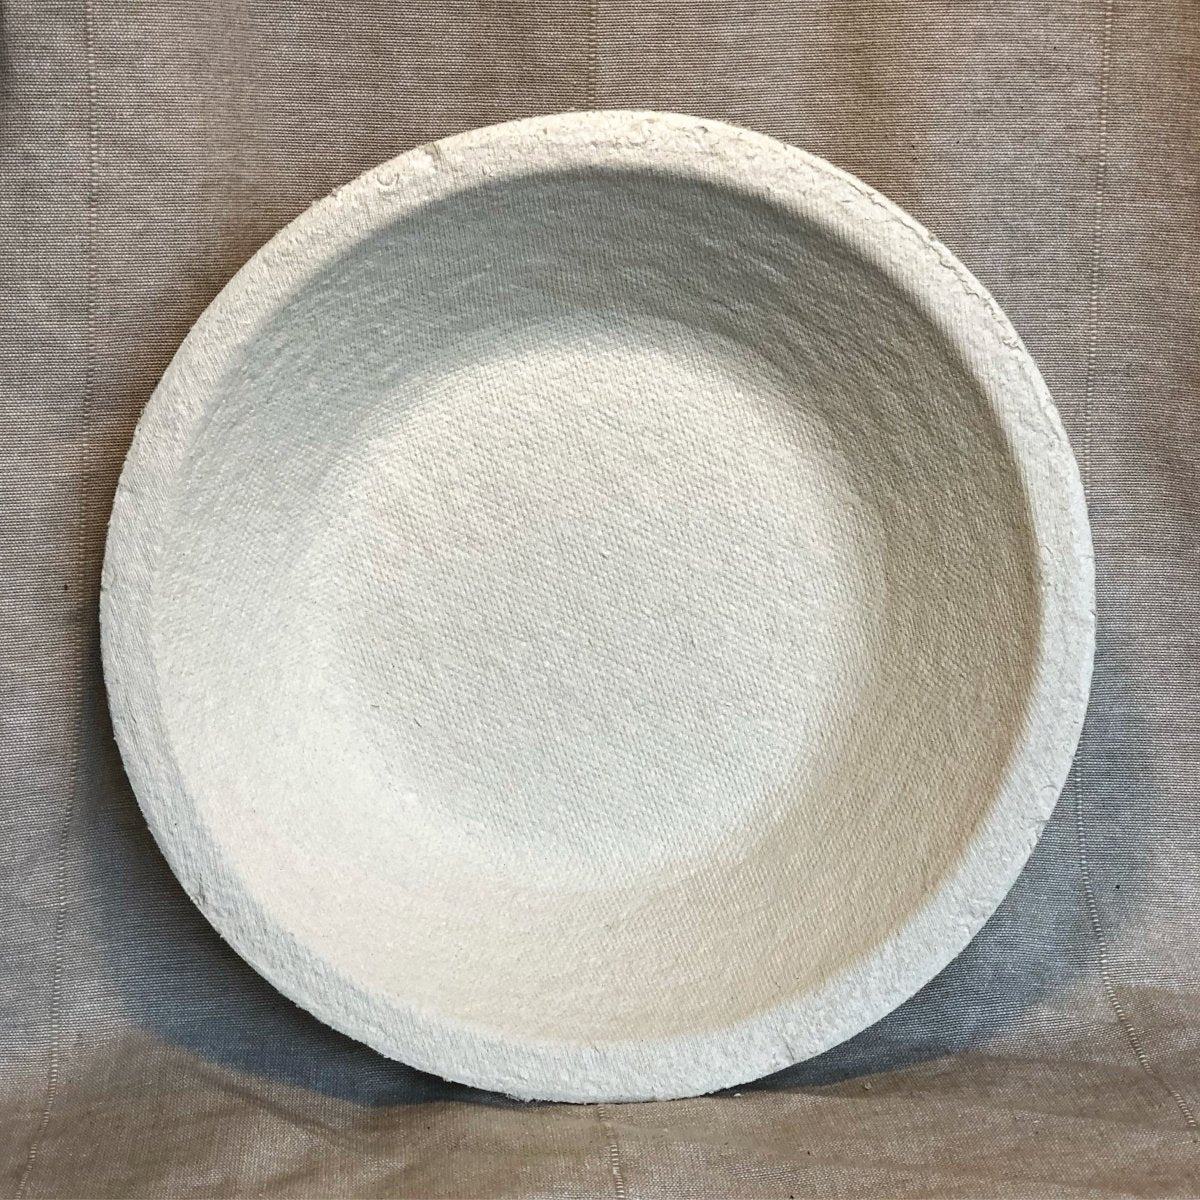
Do You Need a Proofing Basket? (And Which One to Choose)

Do You Need a Proofing Basket? (And Which One to Choose)

When you start baking sourdough, you can get away with a bowl lined with a floured cloth. But once you've used a proper proofing basket, a banneton, it's hard to go back. In short First basketRound OvalFor batards and sandwich...

Read moreabout Do You Need a Proofing Basket? (And Which One to Choose)

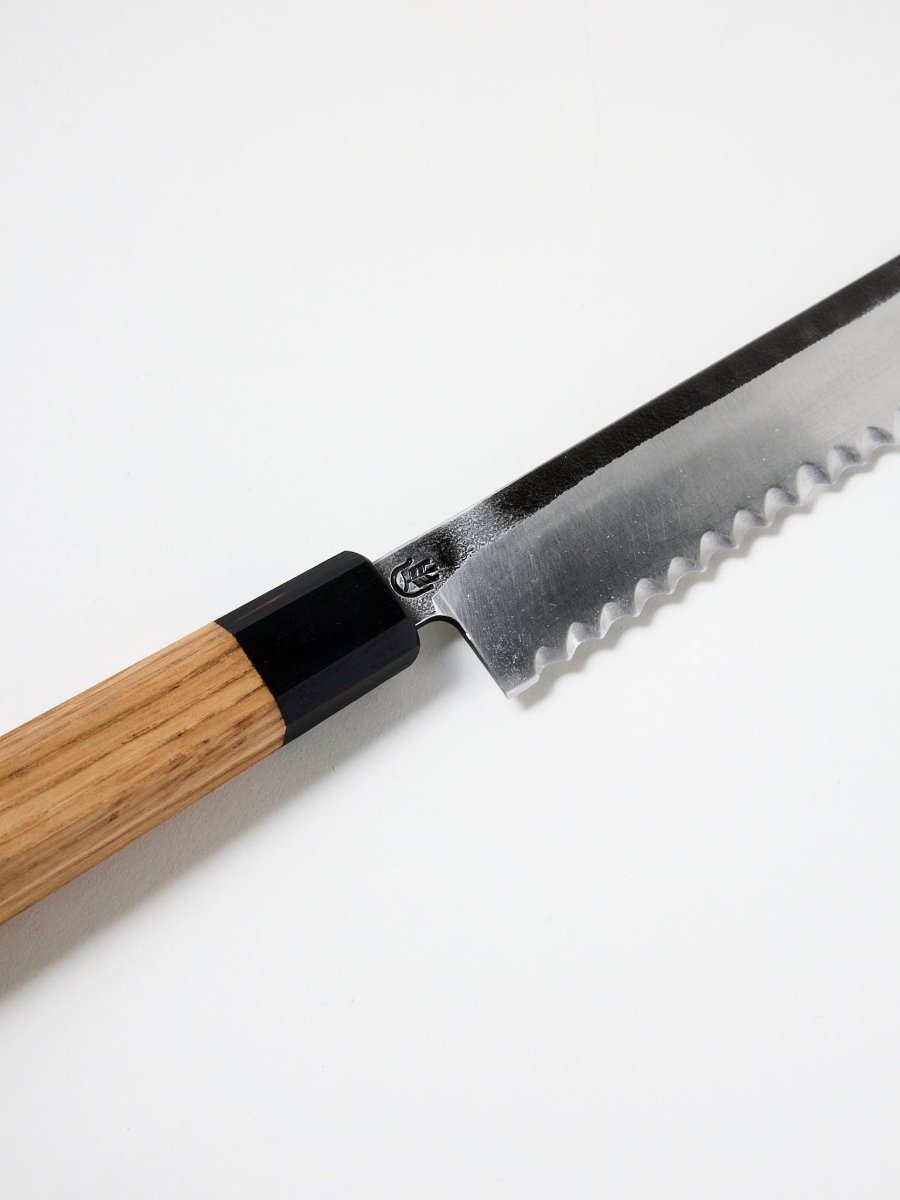
What's the Best Knife for Sourdough Bread?

What's the Best Knife for Sourdough Bread?

You've baked the perfect sourdough loaf. Crunchy crust, open crumb, smells incredible. And then you try to cut it with the wrong knife, and it squashes flat. In short LengthAt least 25 cm BladeDeep serrations WaitAt least 1 hour after...

Read moreabout What's the Best Knife for Sourdough Bread?

What is Autolyse? The Simple Technique That Changes Everything

What is Autolyse? The Simple Technique That Changes Everything

If you've been baking sourdough for a while, you've probably come across the word autolyse. It sounds like something from a chemistry textbook. It isn't. It's one of the simplest, most impactful things you can do in bread baking, and...

Read moreabout What is Autolyse? The Simple Technique That Changes Everything