
Recipe

Cardamom Buns.

Total time3 h 30 min
Active time1 hour
12 buns

Ingredients

Dough

  • 300 ml whole milk, lukewarm, about 36°C
  • 25 g fresh yeast, or a third of that in instant dry yeast
  • 75 g sugar
  • 1 large egg
  • 550 g strong white bread flour, Manitoba or high protein
  • 2 tbsp freshly ground cardamom
  • 1 tsp fine salt
  • 100 g soft butter, in cubes

Brown butter cardamom filling

  • 180 g butter, to be browned
  • 150 g light brown sugar
  • 2 tbsp freshly ground cardamom
  • 1 tsp vanilla sugar or vanilla extract
  • 1 pinch fine salt

Topping

  • 1 egg, beaten, for brushing
  • 4-6 tbsp pearl sugar

Method

Tap a step when it is done.

Dough

  1. Warm the milk to about 36°C, crumble in the yeast and stir until dissolved.

  2. Add the sugar, egg, flour, cardamom and salt. Mix on low speed until the dough comes together, then knead for about 5 minutes.

  3. Add the soft butter a little at a time. Knead for 8 to 10 minutes on medium speed, until the dough is smooth, elastic and slightly glossy.

  4. Cover the bowl and let the dough rise at room temperature for 1 to 1½ hours, until almost doubled. Or give it 30 minutes at room temperature and let it rise slowly in the fridge overnight.

Filling

  1. Melt the butter over medium heat, and let it foam until the milk solids turn golden brown and smell nutty.

  2. Pour it into a bowl and let it cool until soft and spreadable, not liquid. Mix in the brown sugar, cardamom, vanilla and salt to a thick paste.

Shaping

  1. Roll the dough into a rectangle of about 40 x 50 cm, 3 to 4 mm thick. Spread the filling all the way to the edges.

  2. Fold the dough like a letter, bottom third up and top third down. Press it gently even, and cut it into 12 strips.

  3. Stretch each strip a little, twist it 2 to 3 times, and wrap it around two or three fingers into a loose knot. Tuck the end underneath.

  4. Place the buns on trays with baking paper and plenty of space. Cover them and let them proof for 45 to 60 minutes, until puffy and airy.

Baking

  1. Preheat the oven to 220°C conventional or 200°C fan.

  2. Brush the buns with beaten egg, and sprinkle generously with pearl sugar.

  3. Bake in the middle of the oven for 9 to 12 minutes, until deeply golden but still soft inside. Let them cool a little on a rack.

They are best warm on the day. Freeze leftovers the same day and reheat them at 160°C for 5 to 7 minutes.

Questions and answers

Should the buns rise before baking?

Yes. Let them proof covered at room temperature for 45 to 60 minutes, until they are airy. If the dough has been in the fridge overnight, it can take a little longer.

Can I make the dough the day before?

Yes. Give the dough 30 minutes at room temperature and let it rise slowly in the fridge overnight. Then you can roll it out and fill it the next morning.

Can I freeze them?

Yes. Freeze them the same day they are baked, and warm them at 160°C for 5 to 7 minutes.

What we use

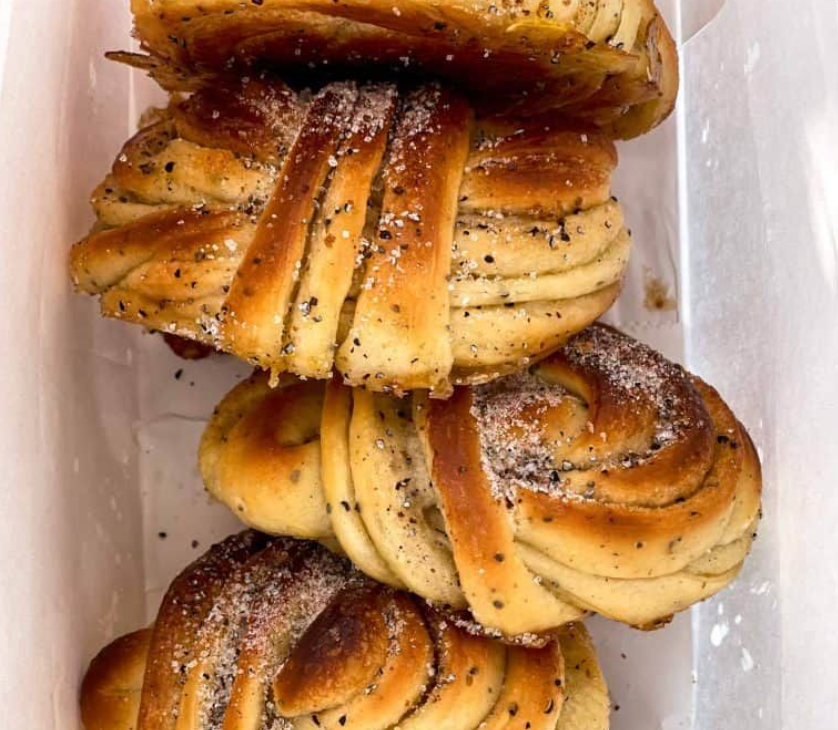
Large, fluffy Scandinavian-style cardamom buns. Soft enriched dough, lots of freshly ground cardamom, a generous brown butter filling, and crunchy pearl sugar on top.

Notes for the best result.

Use freshly ground cardamom from whole green pods if possible. Crush the pods, remove the husks, then grind the black seeds.

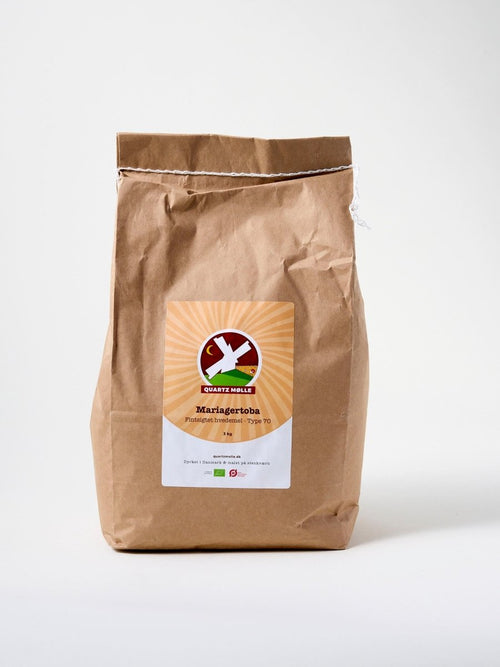
Use strong flour. In Italy, Manitoba flour is a very good choice.

The brown butter must cool before mixing with the sugar. If it is liquid, the filling will leak out too much.

Do not rush the final proof. The buns should feel light and puffy before baking.

Bake hot and fast. That gives colour and caramelisation without drying them out.

Freeze leftovers the same day and reheat at 160°C for 5-7 minutes.


9 comments

    • Jens
    • September 29, 2026 at 2:07 pm

    Nu er det ved at være 2 år siden i har postet denne opskrift. Flere interesserede personer har spurgt nysgerrigt ind til det, men i har stadig ikke lagt fremgangsmåden ind på opskriften. Er det med fuldt overlæg, så synes jeg da i bør skrive det eller hvilken tidshorisont er “snart” for jer? Ser frem til jeres svar. Pft. Jens

    • Jonas
    • February 23, 2022 at 1:37 pm

    Hej

    Kommer der snart en udførlig beskrivelse af processen?

    Mvh. Jonas

    • Brian Bo Jensen
    • February 23, 2022 at 1:37 pm

    “Snart” er otte måneder senere?

    • Tusmelda Kristensen
    • February 23, 2022 at 1:37 pm

    Hej, jeg vil gerne lære at lave disse, men venter tålmodigt på fremgangsmåden…

    • Maria
    • February 23, 2022 at 1:37 pm

    Hele fremgangsmåden kommer snart?! det er 6 måneder siden, så hvornår er snart?

Leave a comment

This site is protected by hCaptcha and the hCaptcha Privacy Policy and Terms of Service apply.

Seneste nyheder

View all

Do You Need a Proofing Basket? (And Which One to Choose)

Do You Need a Proofing Basket? (And Which One to Choose)

When you start baking sourdough, you can get away with a bowl lined with a floured cloth. But once you've used a proper proofing basket, a banneton, it's hard to go back. In short First basketRound OvalFor batards and sandwich...

Read moreabout Do You Need a Proofing Basket? (And Which One to Choose)

What's the Best Knife for Sourdough Bread?

What's the Best Knife for Sourdough Bread?

You've baked the perfect sourdough loaf. Crunchy crust, open crumb, smells incredible. And then you try to cut it with the wrong knife, and it squashes flat. In short LengthAt least 25 cm BladeDeep serrations WaitAt least 1 hour after...

Read moreabout What's the Best Knife for Sourdough Bread?

What is Autolyse? The Simple Technique That Changes Everything

What is Autolyse? The Simple Technique That Changes Everything

If you've been baking sourdough for a while, you've probably come across the word autolyse. It sounds like something from a chemistry textbook. It isn't. It's one of the simplest, most impactful things you can do in bread baking, and...

Read moreabout What is Autolyse? The Simple Technique That Changes Everything